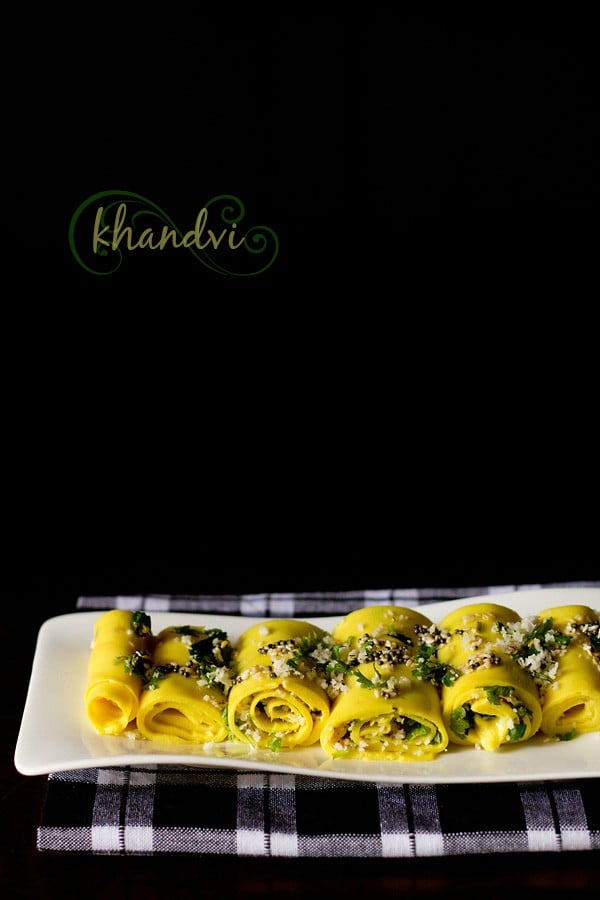
Khandvi Recipe
Khandvi recipe with step by step photos. This is a melt in the mouth, smooth, spiced & seasoned gram flour rolls. khandvi is a delicious healthy snack from the Gujarati cuisine.
Khandvi is made with a mixture of gram flour and buttermilk. in India what we call buttermilk is a thin solution of yogurt and water. Cooking this smooth batter of the gram flour and buttermilk batter is one tricky part. If you get this right, then more than half of your problem is solved.
What we look for in a khandvi are thin layers and this is achieved by getting the right consistency when cooking the batter. If you even cook it more and the consistency thickens, then spreading the khandvi mixture becomes difficult and what you get are thick layers.
Another important point is that you have to Be quick in spreading the cooked khandvi batter. if you delay then the batter thickens as it cools and becomes lumpy while spreading.
I started making khandvi many years back. Once I had read the preparation of khandvi somewhere. The recipe had the measurements in grams and I did not have a weighing machine. i was inspired to try the recipe. So, without any inkling of the proportions or ratio, I made khandvi for the first time and to my surprise, it was a success.
I used to use blind measurements then and still do at times. Since I often cook with the Indian method of estimation called as Andaaz, things rarely go wrong. But I also have my share of disasters once in a while. Only, if I have to blog a recipe, then I use measuring cups and spoons.
 I have given details and tips wherever possible so that you can also make this snack at home without any failure. The proportions of this recipe is enough for a family of four to five. The recipe yields 25 to 30 khandvi rolls. also it depends on how thinly or thickly you spread the batter.
To make khandvi, the proportion of gram flour/besan to buttermilk is 1 : 3. The buttermilk should be neither thin nor thick, but of medium consistency. I have mixed sour yogurt with water for the buttermilk. I always spice up the khandvi batter with ginger and green chili paste. But skip if you don’t prefer the taste or aroma of ginger.
There is a slight variation in this khandvi recipe. usually in khandvi, coconut and coriander are added as a garnish. Here I have lightly stuffed the khandvi with these. More like the way suralachi vadi (the Maharashtrian version of khandvi) is made. If you don’t prefer the stuffing, then just garnish it with coconut and coriander leaves.
Khandvi is a gluten-free healthy snack if you don’t add asafoetida powder or use wheat free asafoetida. The recipe can also be veganized using vegan yogurt. To get the sourness, just add a bit of lemon juice in the batter.
How to make khandvi
1. First prep up all the ingredients required. Take the yogurt in a bowl. You can use dairy or vegan yogurt.
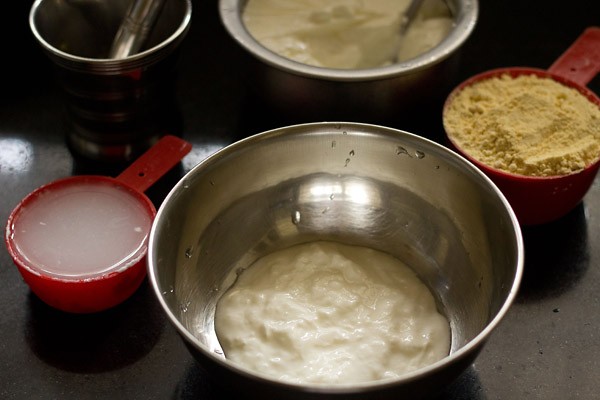 2. Add water and stir well.
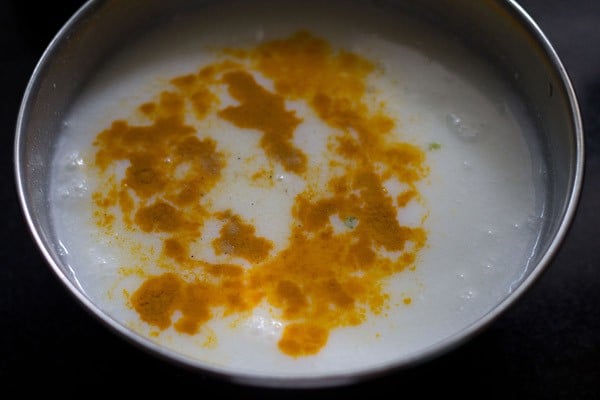
3. Add ginger-green chili paste, turmeric powder, asafoetida and salt. If using fresh yogurt, then to add the sourness, add about 1/2 tsp of lemon juice.
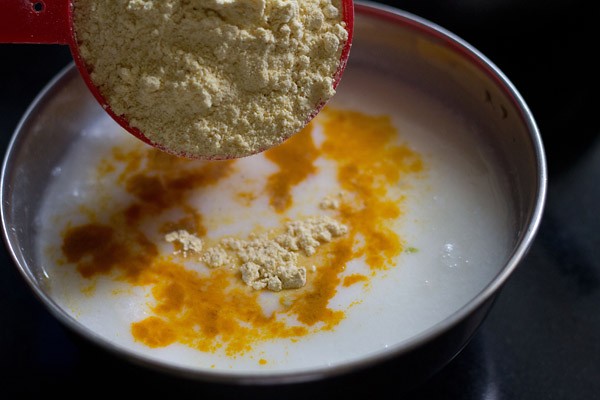
4. Add the gram flour aka besan.
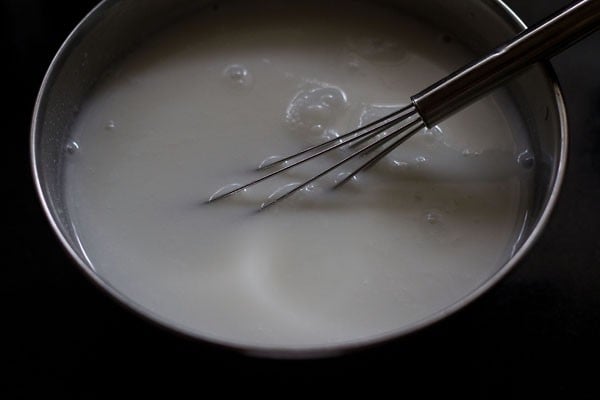
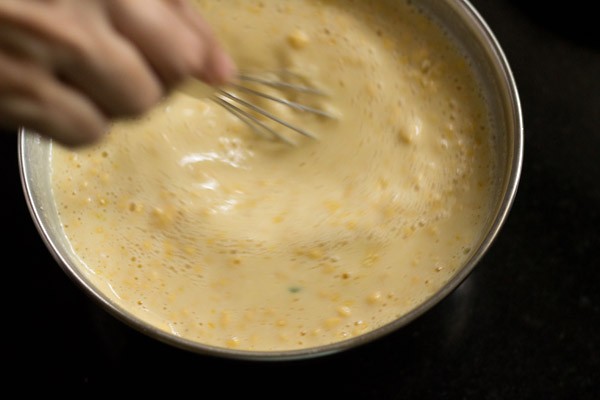
5. With a wired whisk, keep on stirring and mixing till all the lumps are dissolved and you get a smooth batter.
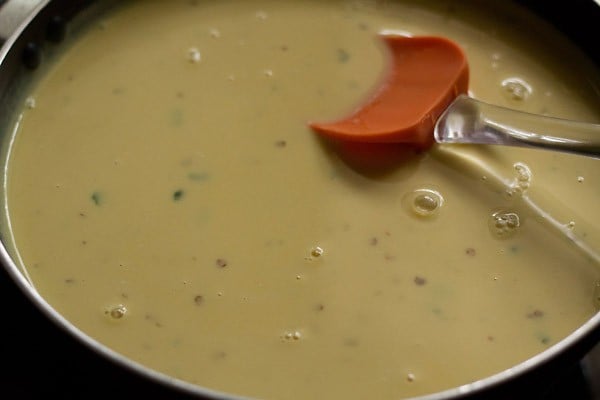
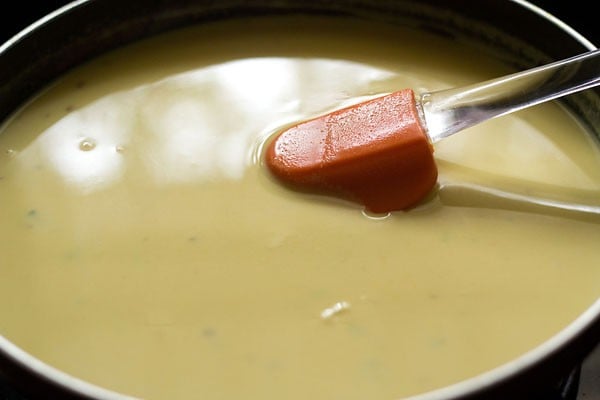
6. Pour this batter in a saucepan or a broad frying pan. Switch on the stovetop and keep the flame to the lowest. Begin to stir.
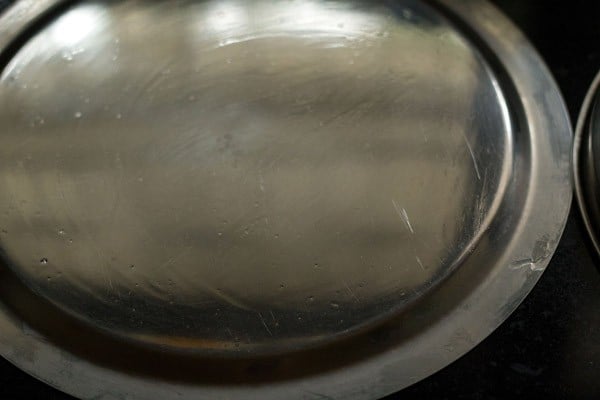
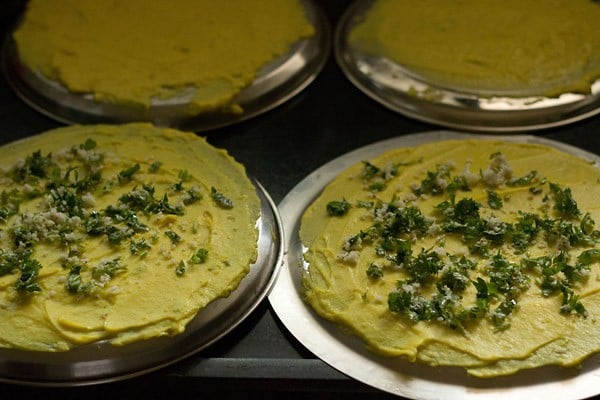
7. Spread oil on plates or boards or tray. Large steel lids or thalis work very well. You can also use the back of a large baking tray. I had to use 4 steel lids. A suggestion would be to use your kitchen counter top, if you prefer. Then you just spread the whole cooked batter on it and can spread it in your own pace. A large wooden or metal tray would also be good.
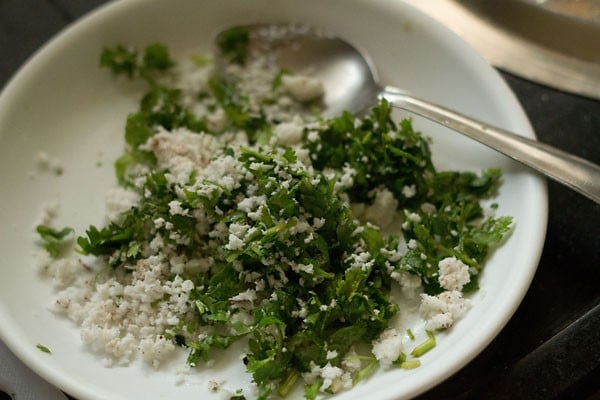
8. Also mix the chopped coriander leaves and grated coconut. Keep aside.
9. Keep on stirring when the khandvi batter is getting heated up. Lumps begin to form and you have to continuously stir so that the lumps don’t form.
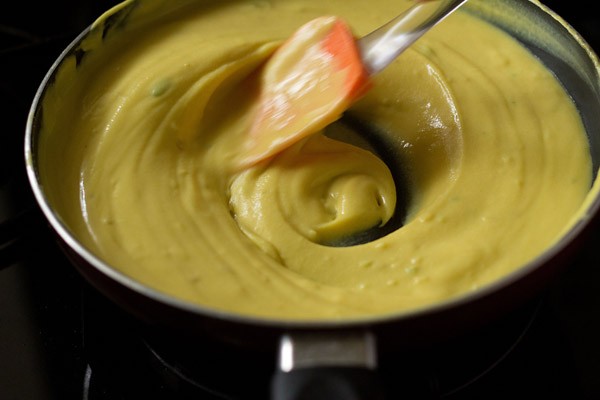
10. The batter would thicken and keep on thickening. Keep on stirring. Best to use a wooden spatula or a heat proof silicon spatula.
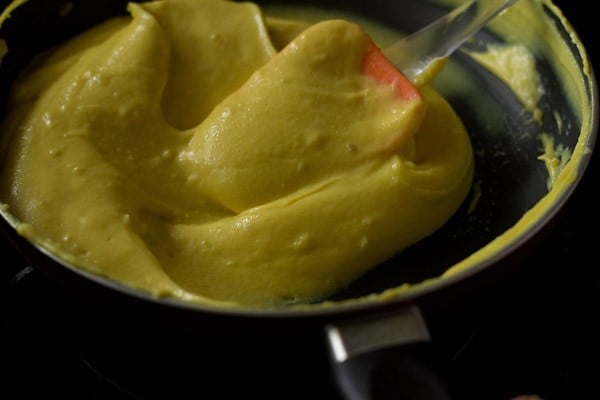
11. You will see the khandvi batter has thickened more than the previous pic.
12. Stir & stir and exercise your hands. the batter also should not be allowed to stick at the bottom. So you have to stir continuously.
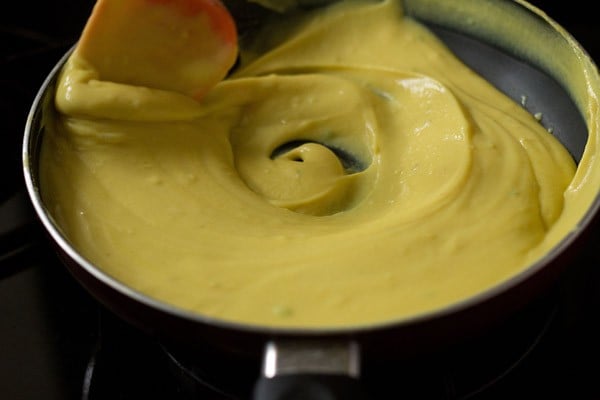
13. A well thickened batter and looks like we are ready.
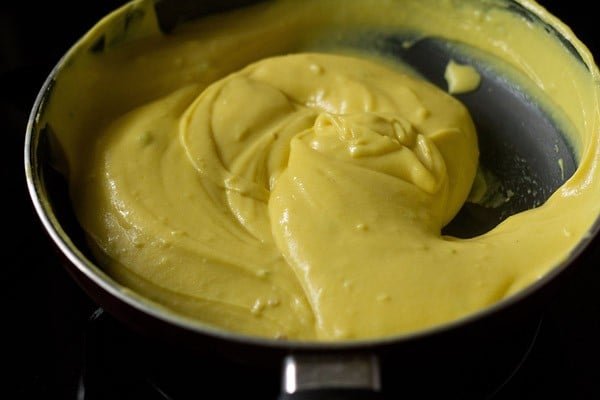
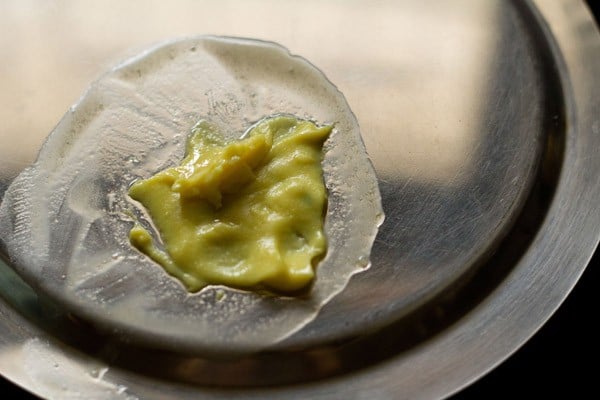
14. So I just spread a few teaspoons of the batter on a greased lid. As you see the texture is still wet.
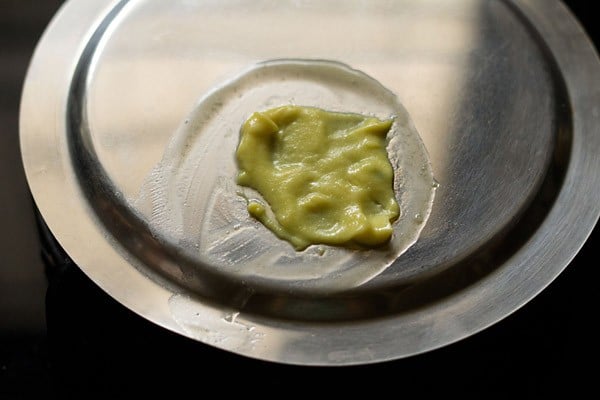
15. Once the spread batter cooled a bit, I tried rolling. As you see the rolls could not be formed. The batter was still pasty, sticky and not properly set.
16. So the batter needs to be cooked more.
17. Continue to stir.

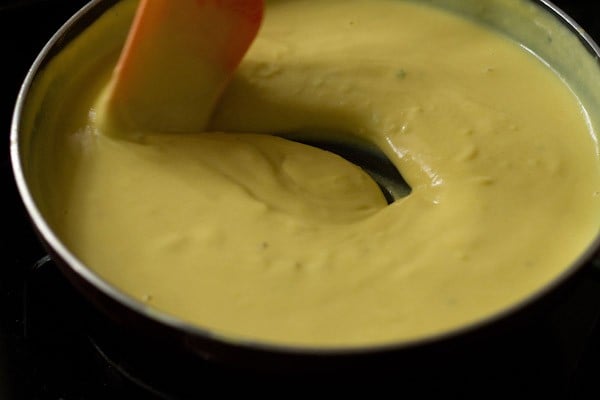
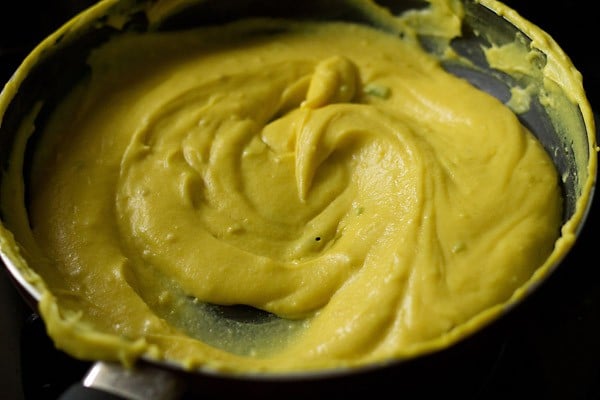
18. This is the Final consistency of the khandvi batter. it took me 17 minutes to get the correct consistency on a low flame. The timing will vary depending on the intensity of the flame, the thickness/thinness of the pan and the size of the pan. Just do the plate test and when you can form the rolls, then the khandvi batter is ready. If the batter becomes too thick, then it becomes difficult to spread and you don’t get thin layers in the rolls. In this case, still spread the batter. You will get thick slices, but still they taste good.
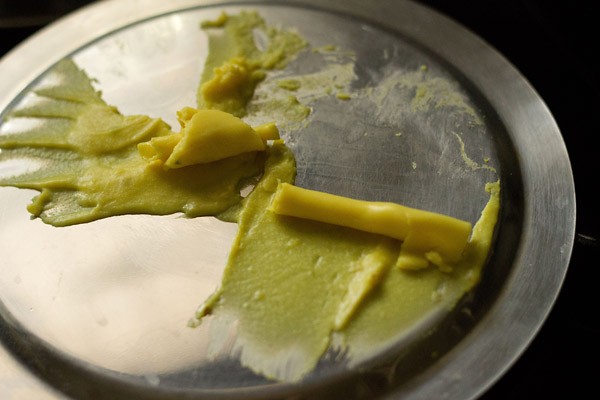
19. Tested again and this time the rolls were happening. This time the batter had spread evenly and there is a smoothness in the layers as well as in the spread batter.
Making khandvi rolls
20. Quickly pour about ½ to ⅔ cup of batter on a large plate and spread thinly & evenly with a spatula. You have to be quick with the remaining batter too. Since even a bit of cooling and the batter becomes likes blob, difficult to spread. If you use a large tray or a parat, then its much easier as you don’t hurry like a harried woman here and there.

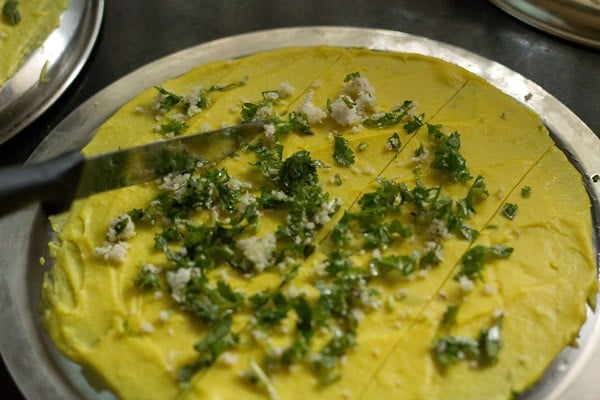
21. Allow to cool and then sprinkle the coconut + coriander leaves mixture sparingly. You can also skip this stuffing part and directly garnish with the coconut and coriander once you temper the khandvi rolls.
22. Cut into equal sized strips.
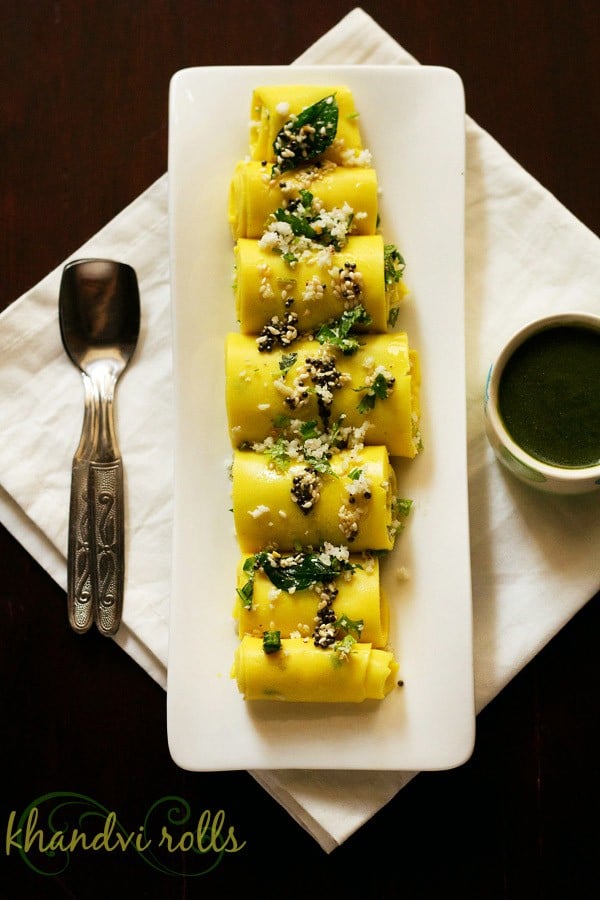
23. Gently roll each strip tightly. Then place them in a serving tray or plate next to each other or stack them neatly. If the tray or plate is large, then you will get large khandvi rolls. In this case after you finish rolling half, just cut horizontally and make a second roll.

Tempering for khandvi
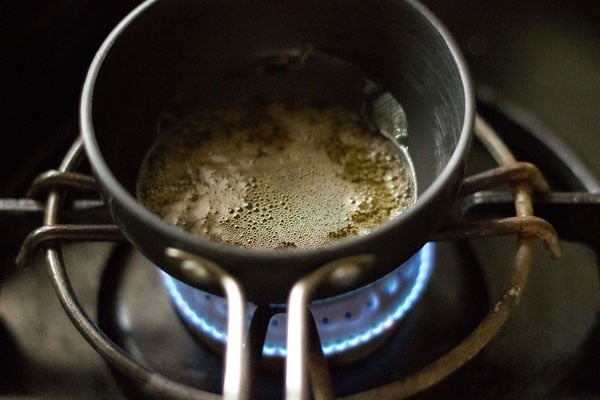
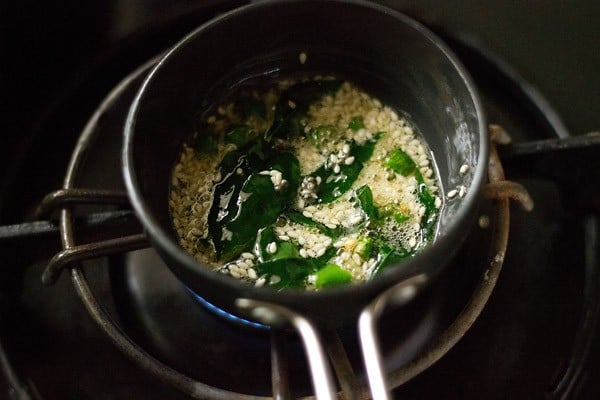
24. For the tempering, heat oil and crackle the mustard seeds.
25. Then add curry leaves, green chilies and fry for a few seconds.
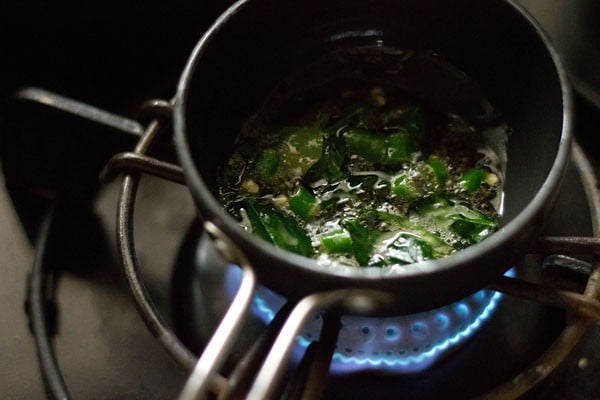
26. Add the sesame seeds and then when they change color & crackle.
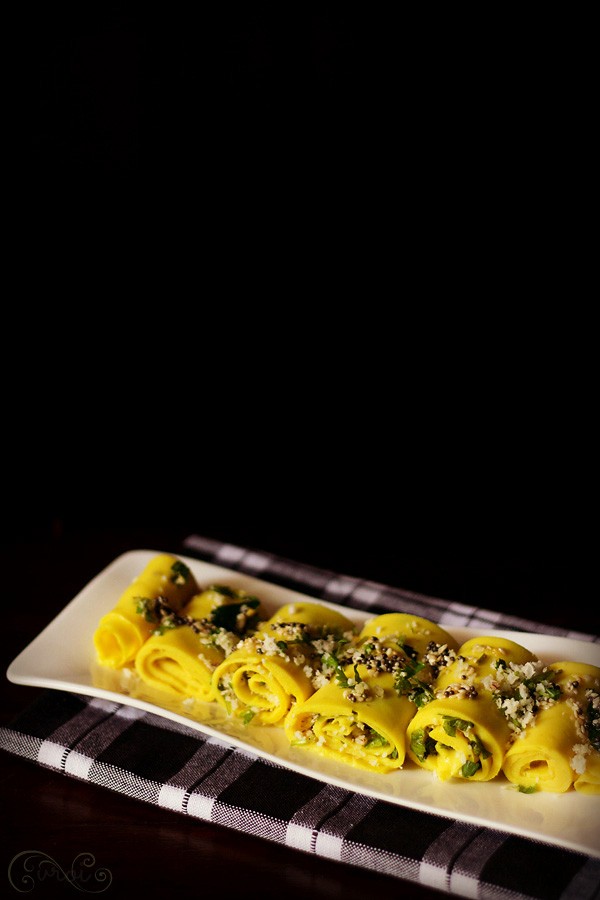
27. Pour this hot tempering mixture along with the oil on the khandvi rolls.

28. You can garnish it with some more coconut and coriander leaves, if you prefer. Serve khandvi with coriander chutney or coriander mint chutney.


Comments
Post a Comment